What are dynamic starting balances and how do they work?
In traditional accounting software, which uses double-entry accounting, you just set up each "account" in your "chart of accounts" before you can track your finances. And one of the things they ask you for is a start date and a starting balance.
Seller Ledger takes a different approach. Because we're focused on eCommerce and automating data, we allow you to link accounts (online sales platforms, marketplaces, banks, credit cards and more) and immediately begin pulling in at least 90 days of transaction history. Most online connections provide account balances as of the day you start importing.
Calculating starting balances
You may notice that Seller Ledger does not ask you for a starting balance. Instead, we calculate what the balance would have been for the day before your oldest transaction in that account based on all of the transactions we have in the system.
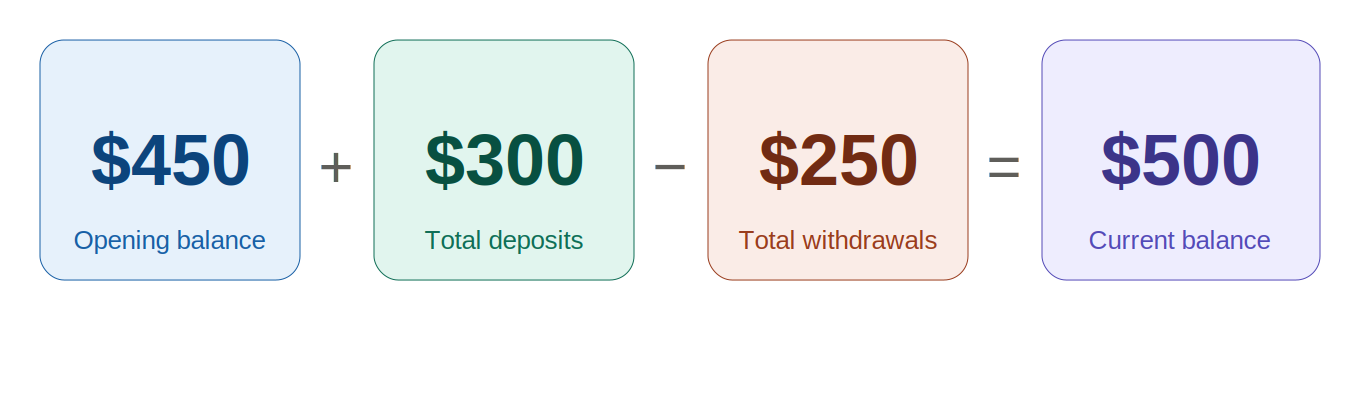
Let's take a super simple example. Let's say you link your business bank account on June 1 and your bank tells us that you have a balance of $500. At the same time, we start bringing in 90 days of transaction history. Your oldest transaction in Seller Ledger will be around March 3 (90 days prior). We know that your balance today is $500. We also know the total amount of deposits and withdrawals over the last 90 days. Let's say you had $300 in deposits and $250 in withdrawals over the last 90 days. That means a net increase in your balance of $50. By subtracting that from the current balance, we can tell that you would have had to have a $450 balance before the last 90 days of transactions in order to have $500 today.
Adding starting balances to your books
Now that we've calculated the starting balance, Seller Ledger will create an entry in your books to make sure they are balanced. In the case above, we will create an entry on March 2 in the amount of $450.
You can see this entry by clicking into your bank account from the dashboard and clicking on the "Last" link in the bottom navigation arrows. Alternatively, you may also find it by clicking on Settings -> Journal Entries.